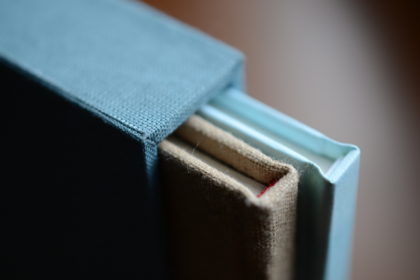
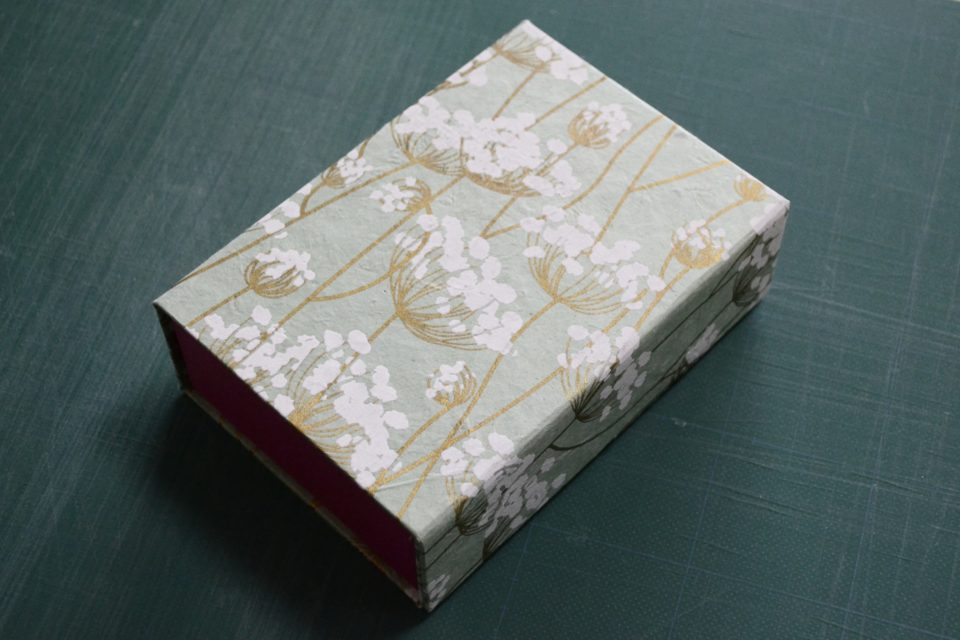
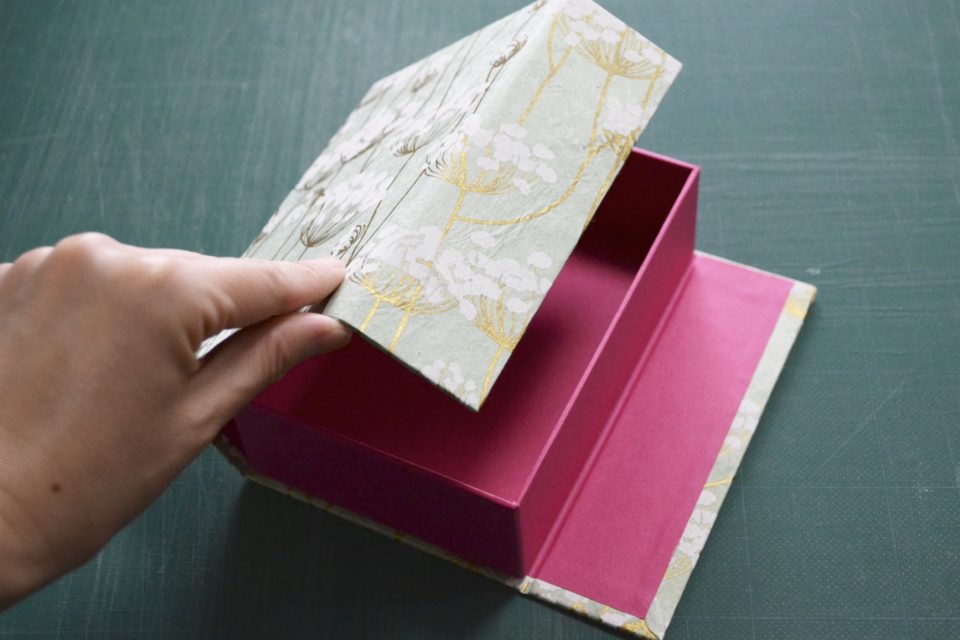
Box making with “nikawa” glue
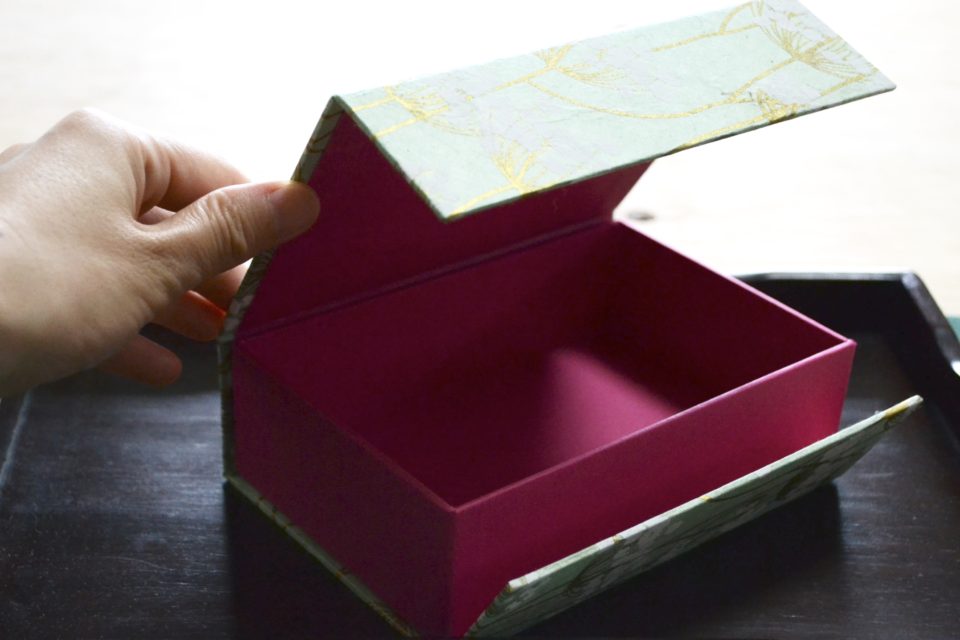
Outside paper is Nepalese handmade paper called Lokta paper.
The pink paper inside is Tanto, a Japanese industrial paper.
膠で作った箱。
外側はネパールの手漉き紙、ロクタペーパー。
ピンクの内側の紙は日本の工業紙のタント。
The update had stopped for a while.
Because I had making my workspace.
Finally it was finished.
This should make my work go smoothly.
Now, my challenge in July is to use “nikawa” glue.
I got it from my kindly friend.
I’m happy to have many good friends.
しばらく更新が止まっていました。
作業場を作っていたのです。
やっとそれが完成しました。
これで、作業効率が良くなるはず。
さて、7月の試みは”膠(ニカワ)”を使うことでした。
親切な友人がプレゼントしてくれたのです。
良い友人達に恵まれて、私は幸せです。
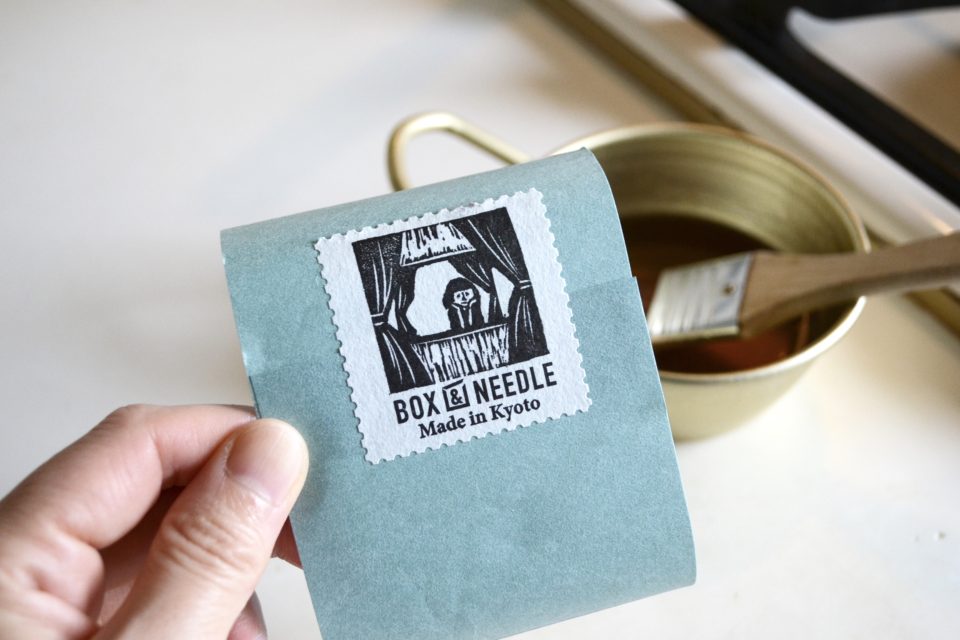
ボックス&ニードルのラベル。
What I received was a glue from a store called Box & Needle in Kyoto.
This is a Long-established carton store.
This Haribaco making kit is also a product of Box & Needle.
Both are traditional boxes made by sticking paper on cardboard,
but the method of making is different between Cartonnage in France and “Haribako” in Japan.
The biggest difference is the place of spread glue.
In Cartonnage, glue is applied to cardboard, and in Haribako, glue is applied to the paper.
Now, let’s make a Haribako using glue!
私がいただいたのは京都にあるBox&Needleというお店の膠です。
こちらは老舗の貼箱のお店。
この貼箱制作キットもBox&Needleのものです。
どちらも厚紙に紙を貼って作る伝統的な箱ですが、
フランスのカルトナージュと日本の”貼箱(ハリバコ)”では作り方が異なるそうです。
最大の違いは糊を塗る場所です。
カルトナージュでは厚紙に糊を塗り、貼箱では紙の方に糊を塗ります。
それでは、膠を使って貼箱を作ってみます!

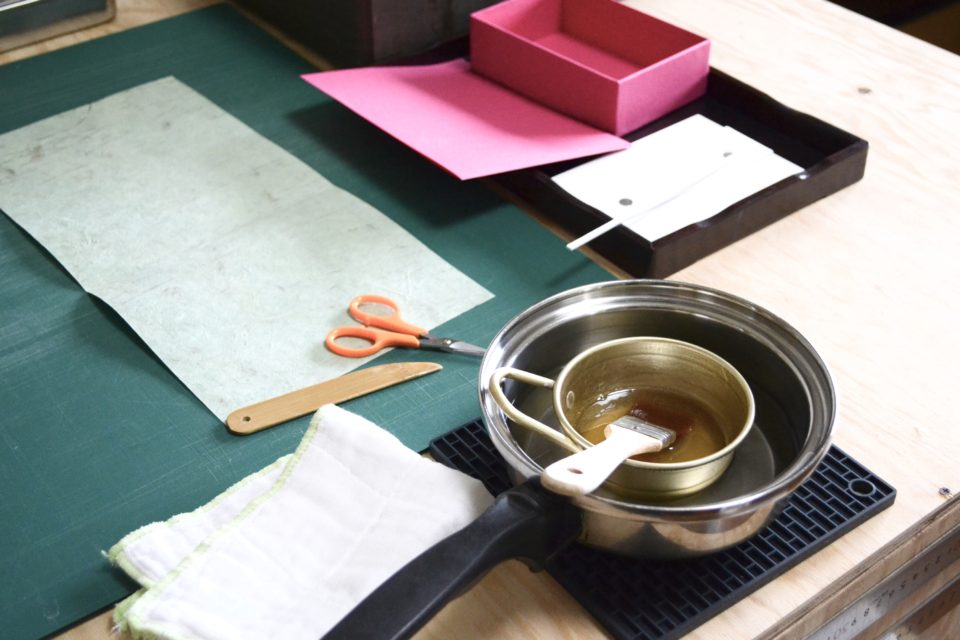
I cut the glue together with the pack.
I expected it to be sticky, but it’s not.
真空パックされた膠。
パックごと膠を切りました。
べとつくことを予想していましたが、そうでもない。
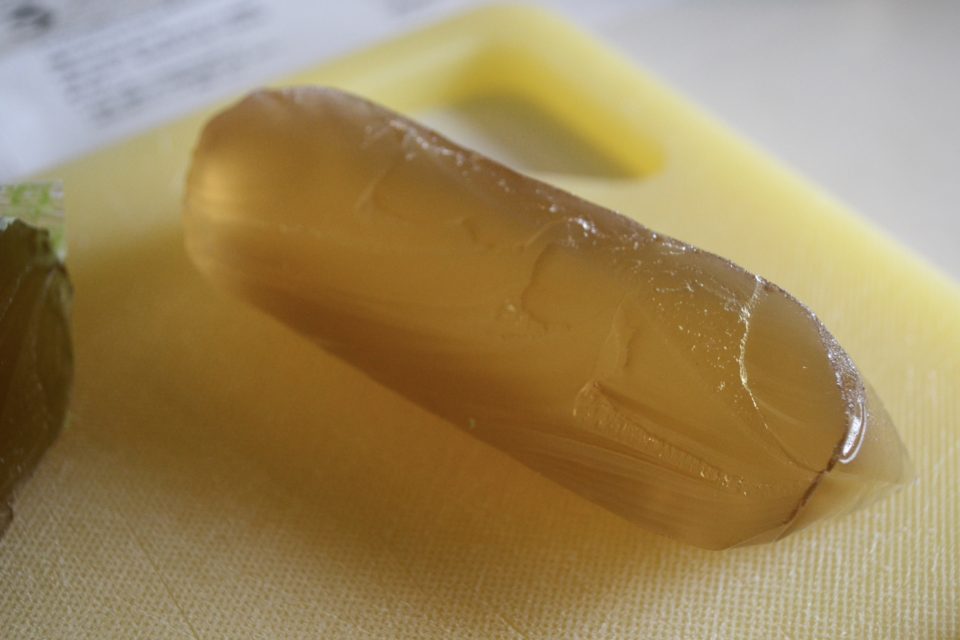
It was easy to get out of the pack.
Not sticky.
膠の断面。
パックから簡単に出せました。
べとつかない。
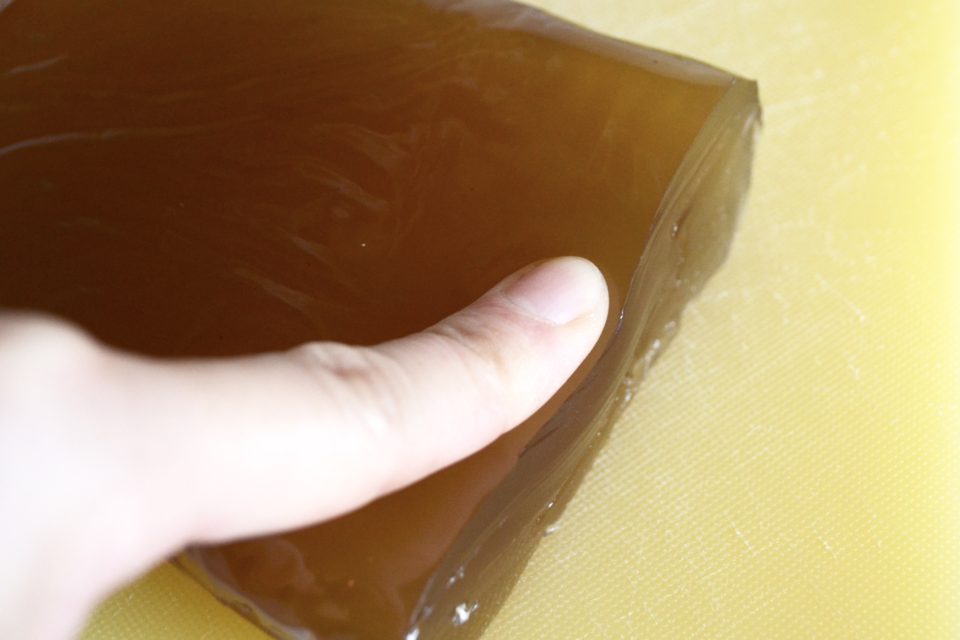
It isn’t sticky.
硬めの弾力があります。
べとつきはしません。
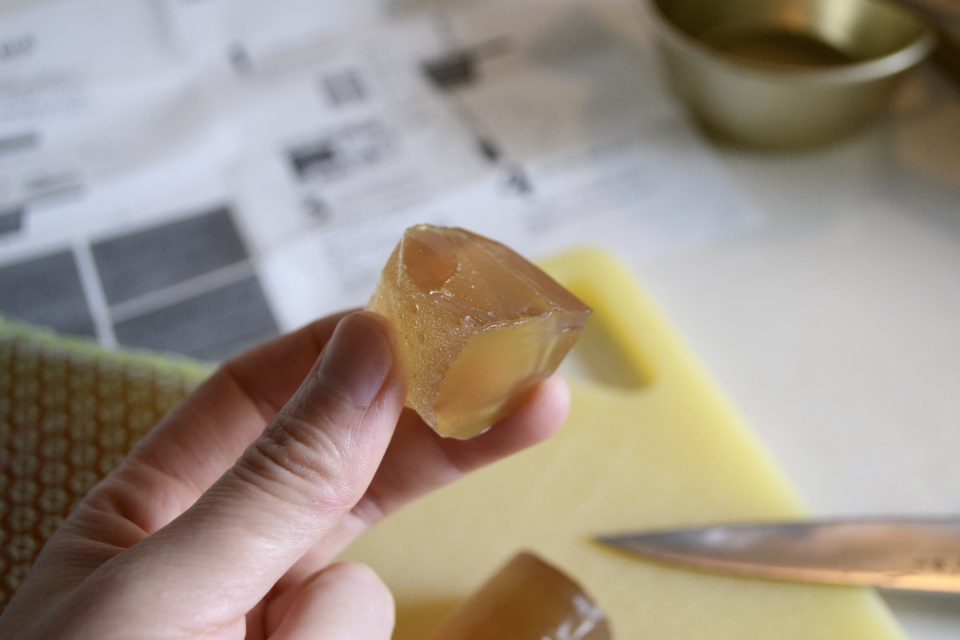
一口大にカット。
First, I follow the manual.
Cut into small pieces to melt the glue quickly.
It says bite-sized, so I do that.
I write that it is not sticky, but I expected the nikawa to be sticky.
Because it’s glue. I thought the glue was sticky.
まずは説明書のとおりにいきます。
膠を素早く溶かすために小さく切ります。
一口大と書いてあるので、そのとおりに。
しつこくベトベトしないと書いていますが、膠がべとつくことを予想していたのです。
だって糊ですからね、糊はべとつくものだと思い込んでいました。
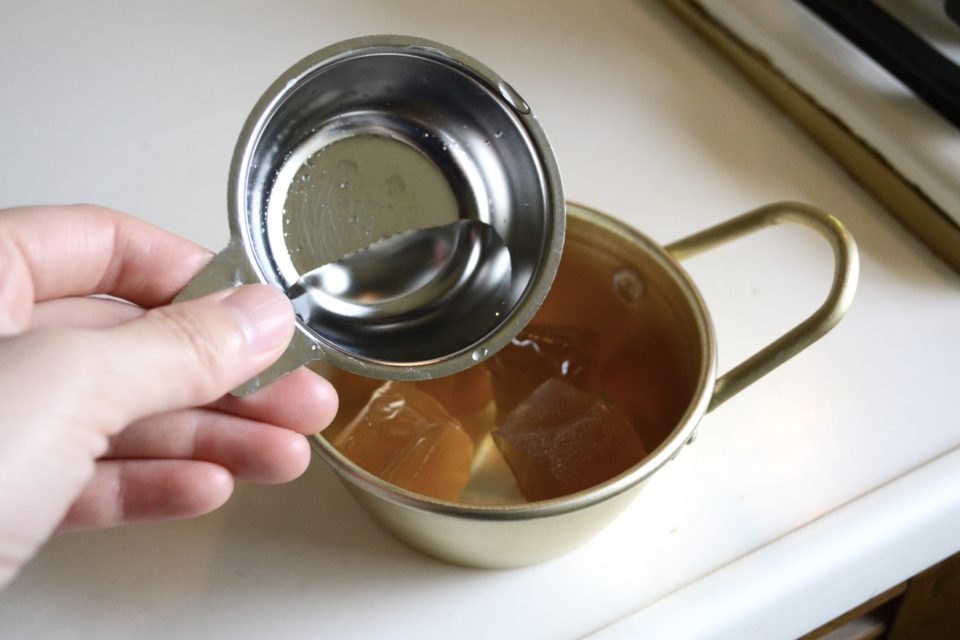
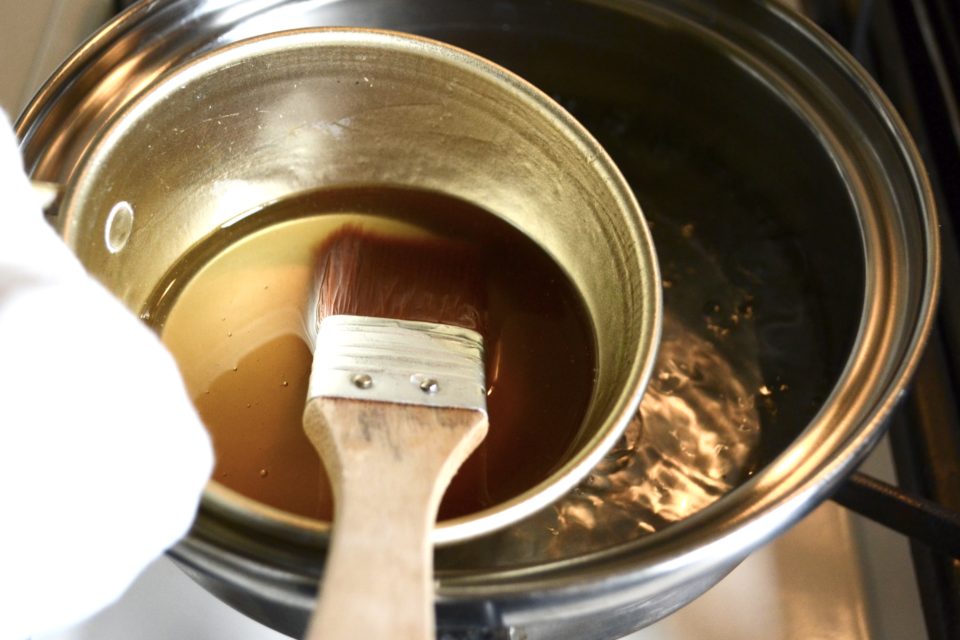
水を加えます。
Add a quarter of the amount of water in the nikawa.
It is easy to burn, so put it in a container and boil it in hot water.
膠の1/4の量の水を加えます。
膠は焦げやすいので、容器に入れ湯煎にかけます。
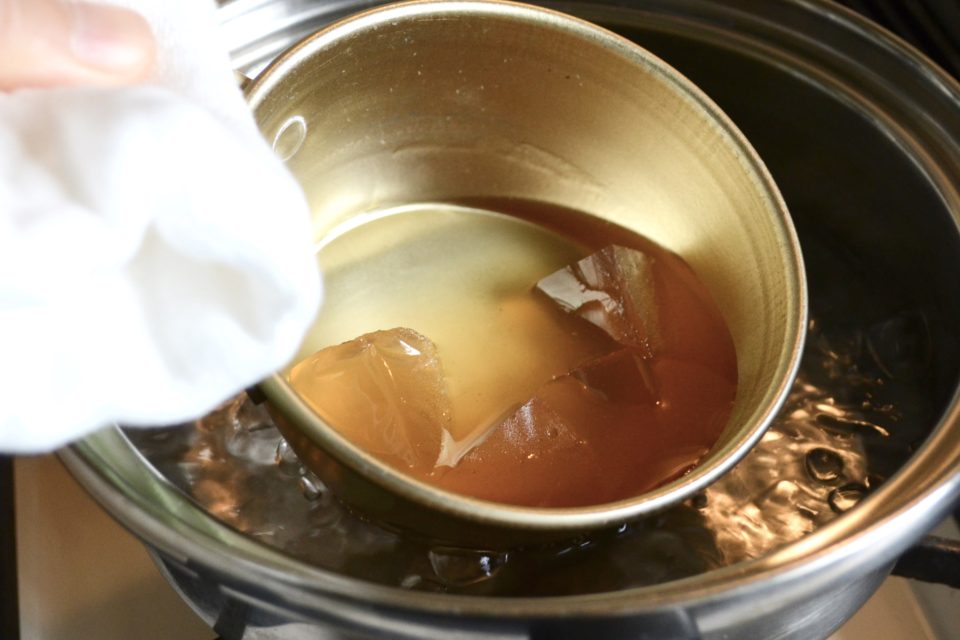
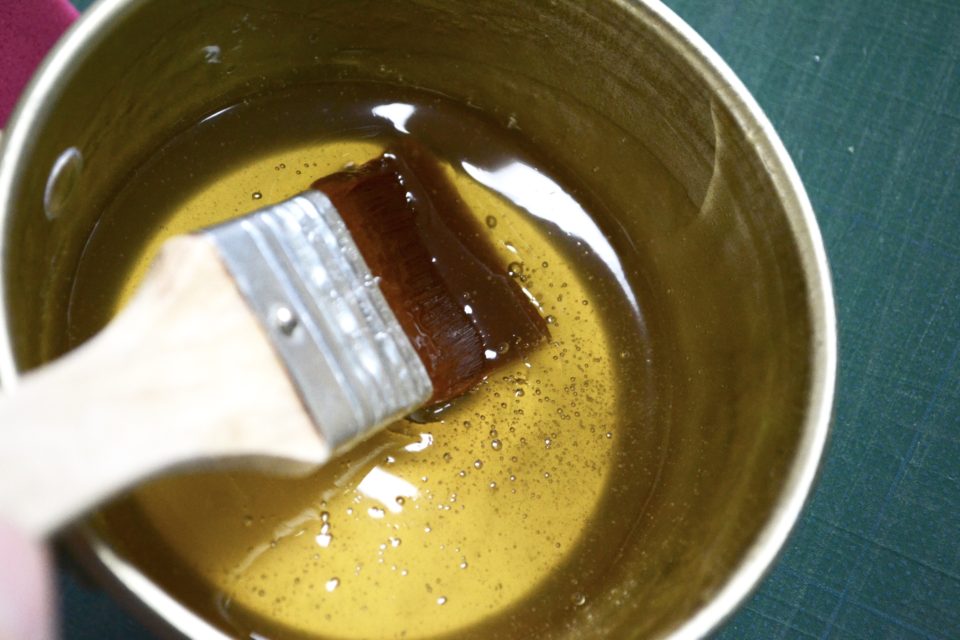
すぐに溶けはじめました。
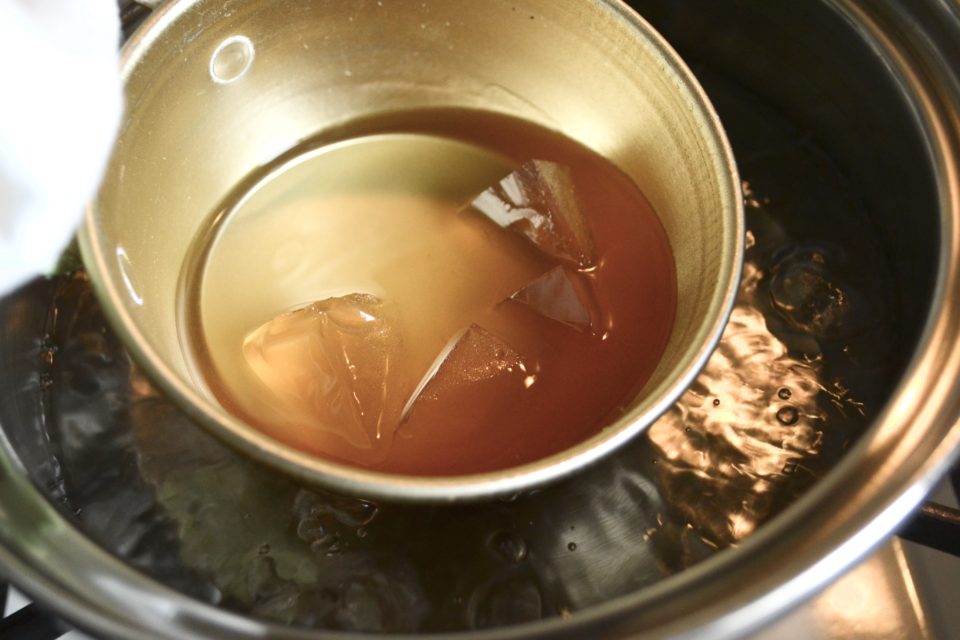
小さな変化ですが、記録のために載せておきます。
固形が小さくなったら、刷毛で混ぜ、完全に液体にします。
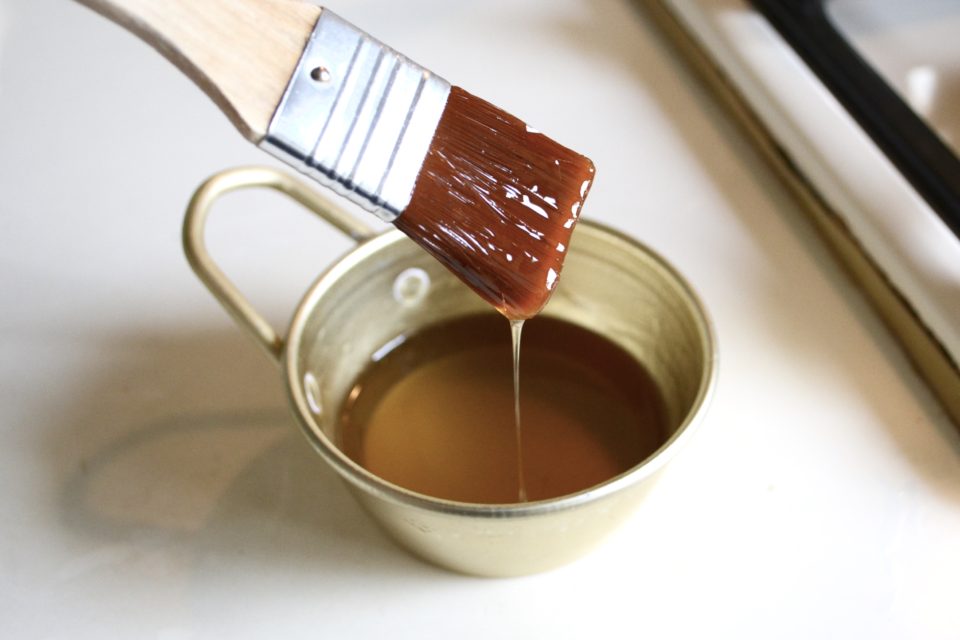
Oh, This is nikawa.
膠の準備ができました。
これが膠なんですねぇ。
At this time, I moved from the kitchen to the workshop.
next stage is a making a box.
But…
この段階で、台所から作業場へ移動しました。
次は箱を作ります。
ところが…
膠がすでに固まりはじめていました。
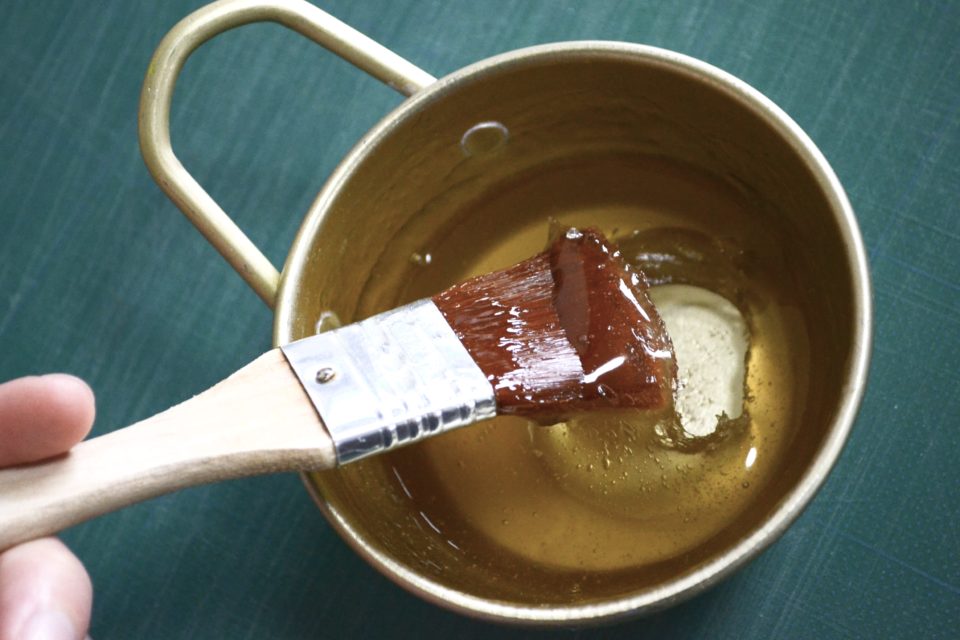
これはもう一度溶かすしかないですね。
溶けた状態を維持するため、保温してみました。
I couldn’t take a picture of the paper pasting work.
Because it was a battle against time.
When I lifted the brush and the temperature, it began to harden.
When I think later, I should have increased the water.
紙を貼る作業の写真は撮れませんでした。
時間との戦いだったからです。
刷毛を持ち上げ温度が下がると、固まりはじめました。
後から考えると、水を増やせばよかったのでしょう。
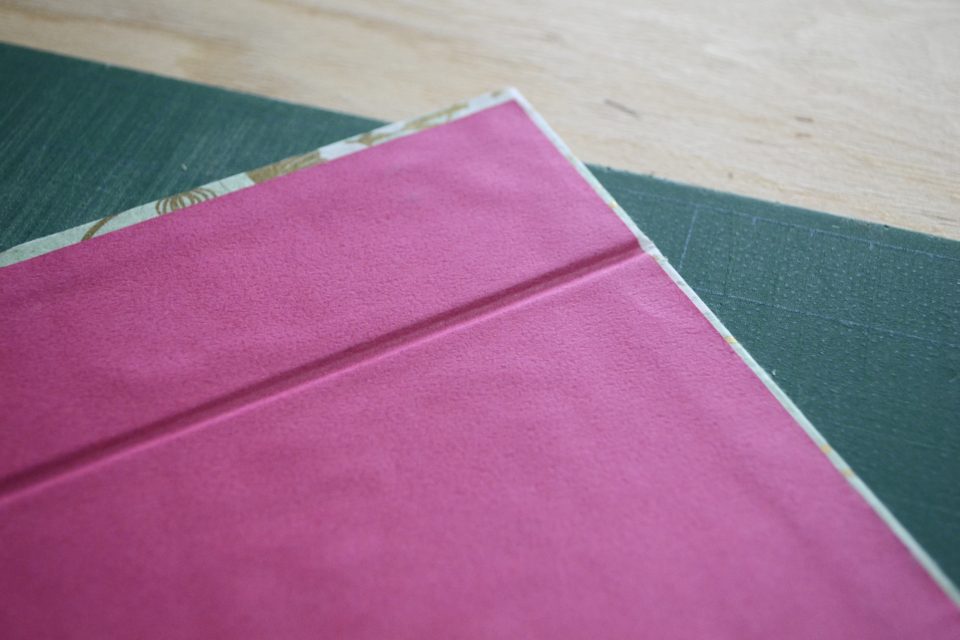
The paper became uneven.
糊づけの最中に硬化が始まったため、糊が不均一につきました。
そのため、紙が凸凹しています。
なんとか箱作りは終了。
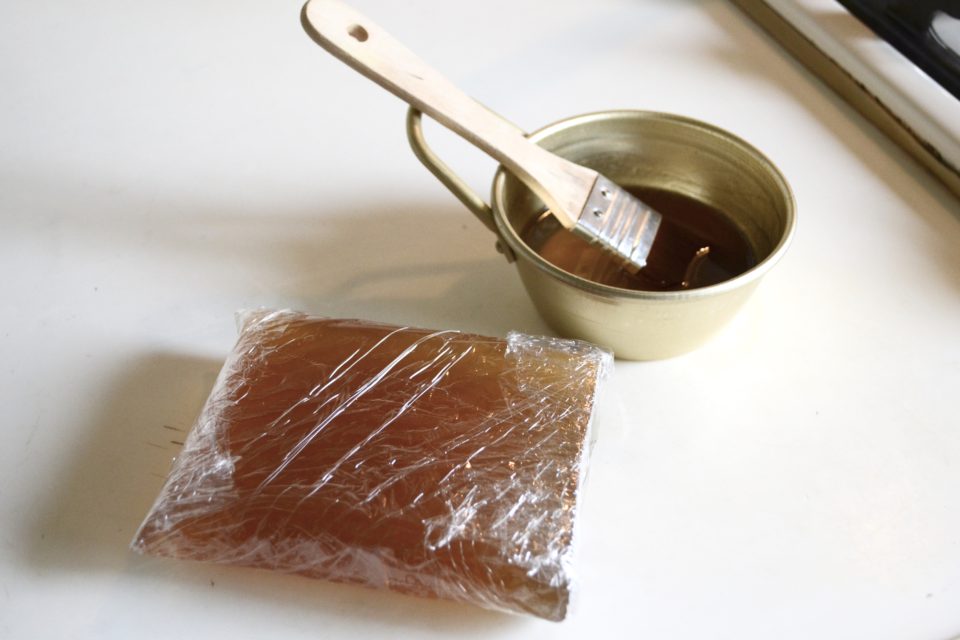
残りの膠は包んで保存します。
Glue is peeled off by heat and moisture.
The instructions said that you could re-paste it with steam.
I tried it.
But, the paper didn’t peel of.
The nikawa is strong.
It’s a good idea to add more water to slow down the cure.
I’ll try again.
膠は熱と水分で剥がれます。
説明書にはスチームで紙を剥がすことができると書かれていました。
試してみましたが、紙を剥がすことはできませんでした。
膠は強力な糊でした。
硬化を遅くするためにもっと水分を加えると良いのでしょうね。
また挑戦するつもりです。